The LCD character display module is a backlit screen that shows letters, numbers, and characters on rows and columns.
When you need to provide visual textual or numerical output.
An Liquid Crystal Display (LCD) is made up of layers of different materials. There are many different LCD technologies: some work without a light source (like on a wrist watch), some can show colors (a computer screen), and some use little squares to make up different characters (this screen). This particular type of LCD uses STN (Super Twisted Nematic) LCD technology.
This type of LCD consists of many layers. Light is emitted from layer 6 (see image below), the backlight. The waves of light then pass through the horizontal polarizing filter (layer 5). This filter allows for only horizontal waves of light to pass through it. Layers 2 and 4 are electrodes that pass electricity through the liquid crystal layer (layer 3). When an electric signal flows across the liquid crystal layer, the liquid crystals align with the electrodes and rotate the waves of light from horizontal to vertical. Finally, a vertical polarizing filter (layer 1) allows for only light rotated by the liquid crystal layer to pass through. The shapes of the electrodes on layer 2 determine the patterns displayed by the LCD.

You can see this same polarizing effect with a pair of polarized sunglasses and any LCD screen (i.e. a computer or phone). As you rotate the sunglasses toward 90 degrees, you will find that the screen fades out until it is entirely dark. This is because the screen only emits waves of light vertically, and the sunglasses only allow through vertical waves of light. When the sunglasses are rotated 90 degrees, the now horizontal filter does not allow vertical waves to pass through.
LCD without I2C
The LCD character display has a lot of pins to signal what to display and when to display it. To make this coordination easier, the LiquidCrystal library may be used.
There are two modes for the LCD: 4-bit and 8-bit. Most letters and numbers can be displayed using the 4-bit mode. This means that the LCD won't use as many pins on the Arduino, leaving room for more components.
Note that this display takes about half a second to finish updating its screen, so text becomes difficult to read if it is changed or scrolled too quickly.
I2C LCD
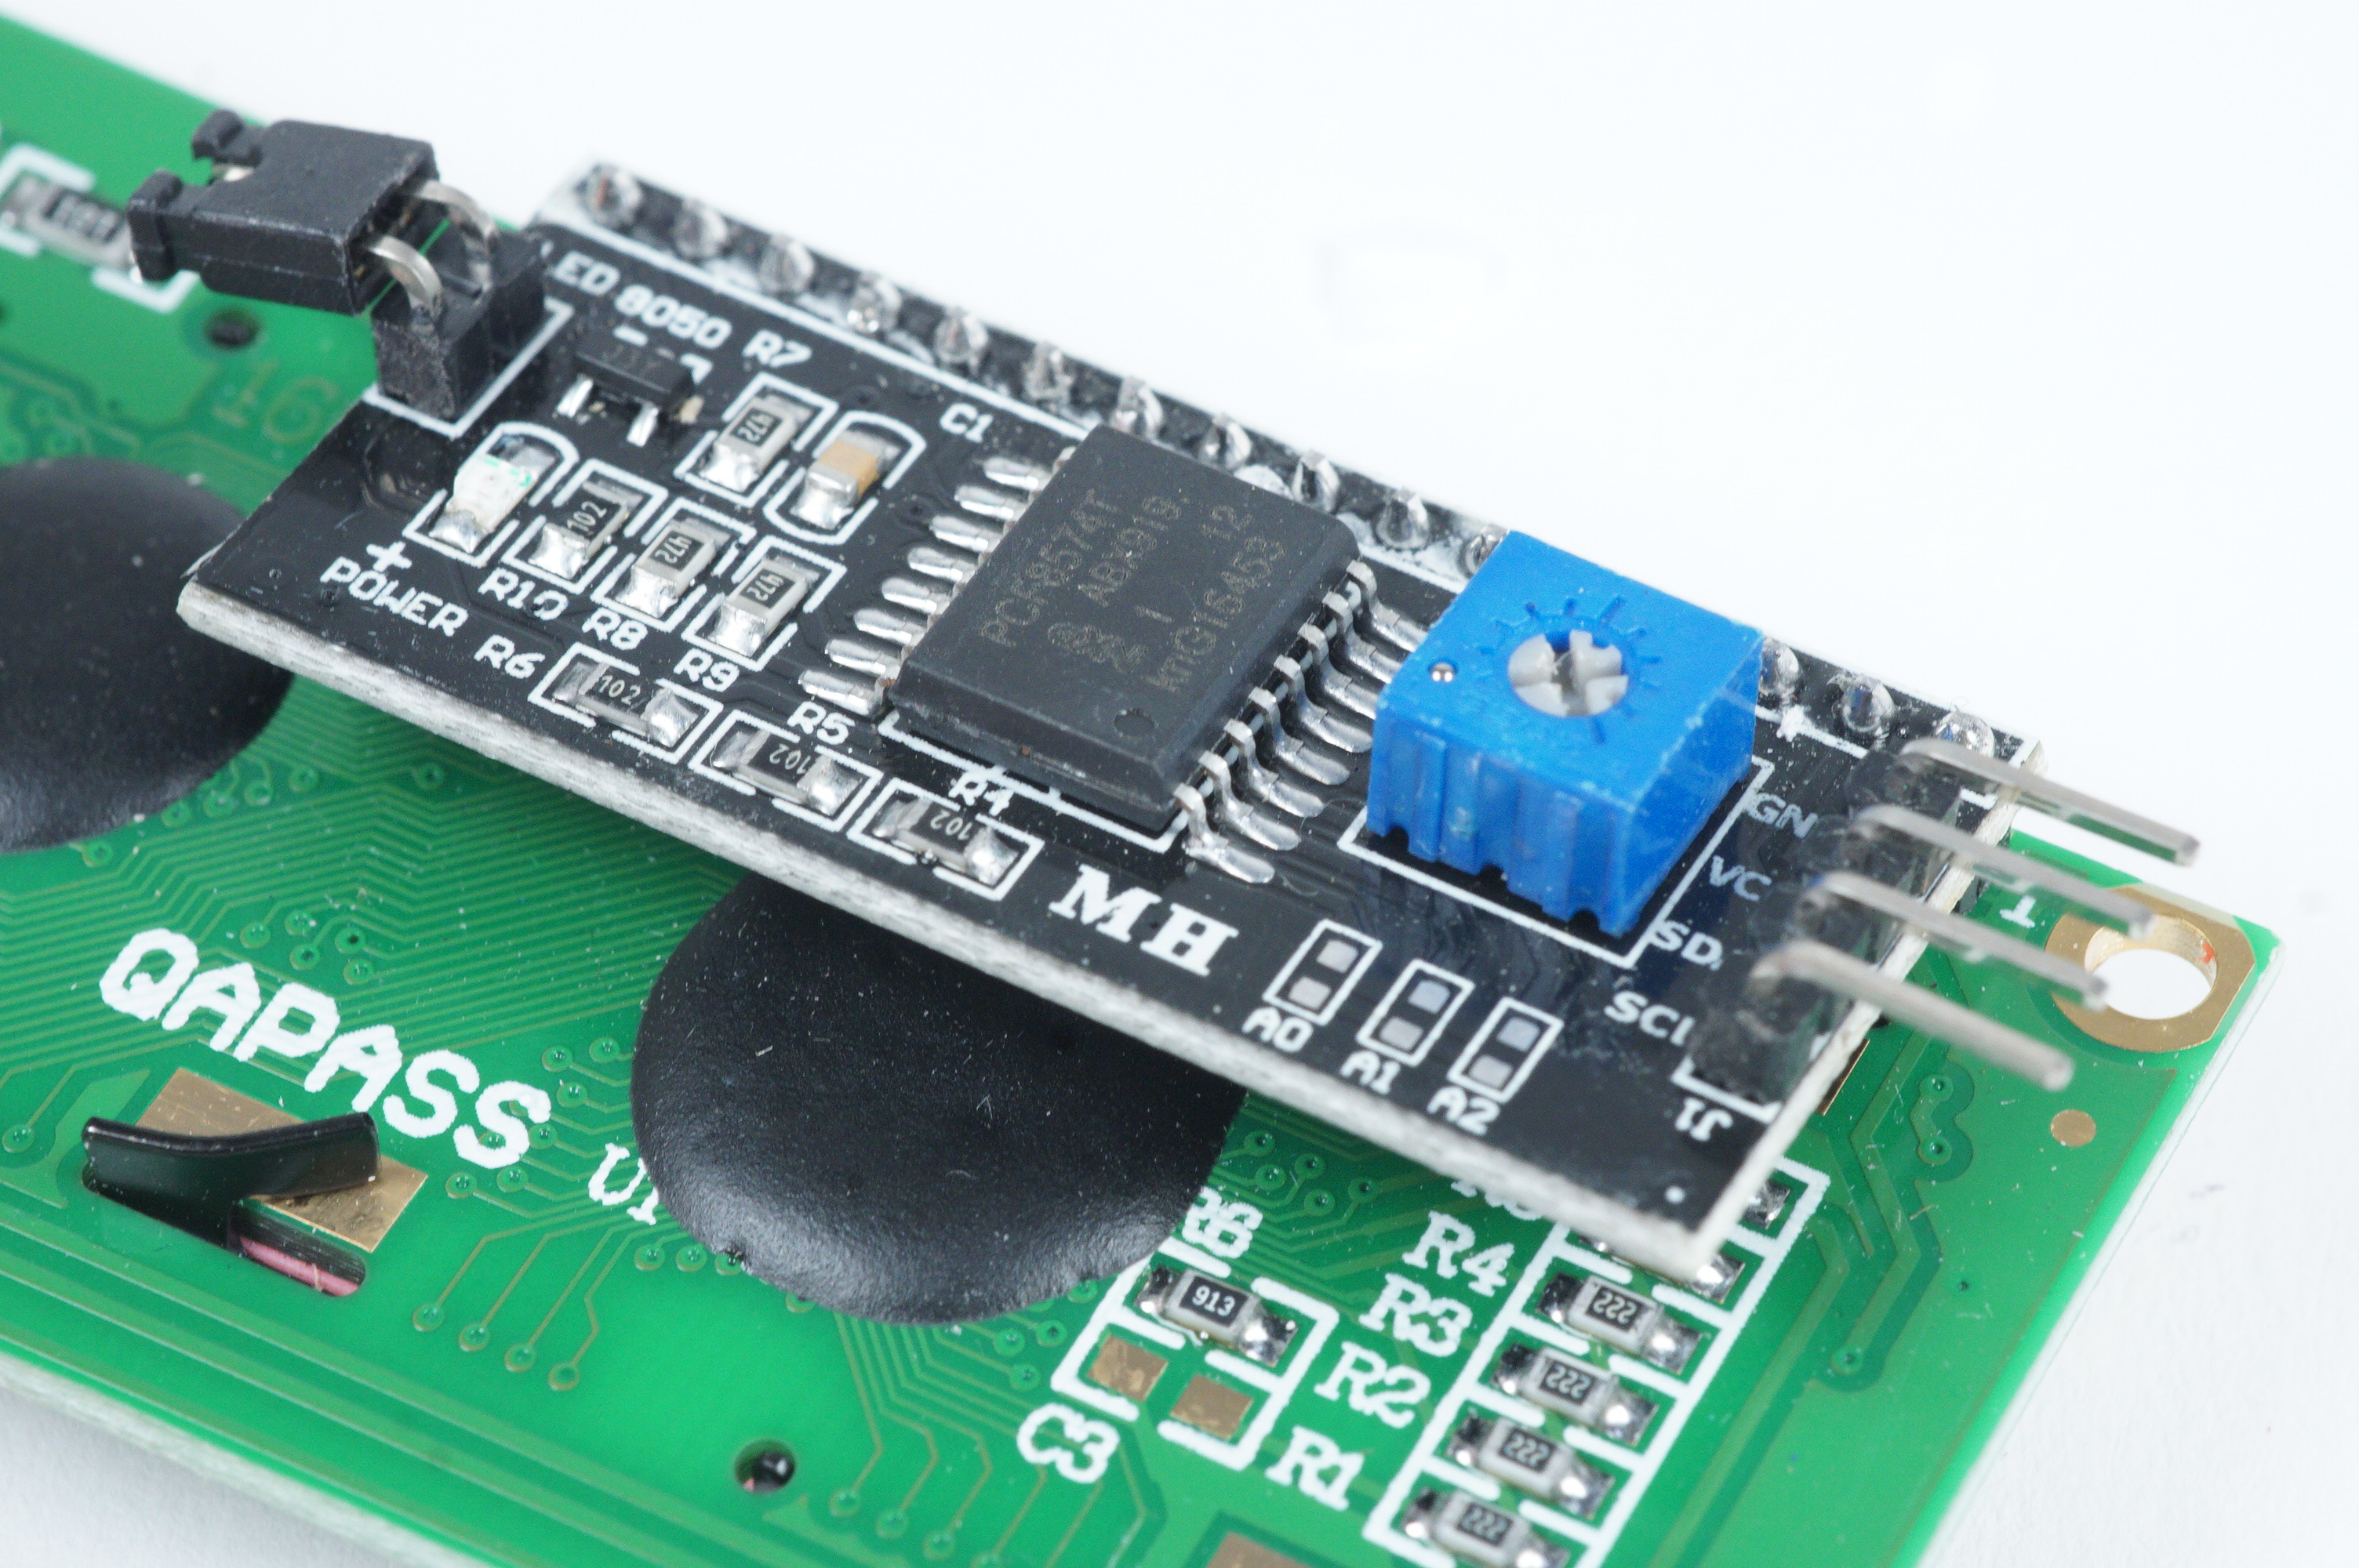
As an alternative, you can use the LCD character display with the I2C backpack also carried in the physical computing lab, which condenses the number of connections down to four: power, ground, SDA (serial data), and SCL (serial clock). For further reading, see here.
LCD without I2C
This code requires the LiquidCrystal library. You can install it in the Arduino IDE by going to Sketch > Include Library > Manage Libraries and searching for "LiquidCrystal." This library handles all of the coordination of the many LCD pins.

/*
 * This program sets up a 16x2 LCD display in 4-bit
 * mode on RS_PIN, E_PIN, D4_PIN, D5_PIN, D6_PIN,
 * and D7_PIN.
 *
 * Initially by David A. Mellis from https://github.com/arduino-libraries/LiquidCrystal/blob/f1f2f18b0180ede74b265f680e1d02fa71bca7bb/examples/HelloWorld/HelloWorld.ino
 * Modified 2021-05-02 by Perry Naseck
 */

#include <LiquidCrystal.h>

const int RS_PIN = 12; // Digital pin for the LCD's RS pin
const int E_PIN = 11;  // Digital pin for the LCD's E pin
const int D4_PIN = 5;  // Digital pin for the LCD's D4 pin
const int D5_PIN = 4;  // Digital pin for the LCD's D5 pin
const int D6_PIN = 3;  // Digital pin for the LCD's D6 pin
const int D7_PIN = 2;  // Digital pin for the LCD's D7 pin

// Create the LCD instance using those pins
LiquidCrystal lcd(RS_PIN, E_PIN, D4_PIN, D5_PIN, D6_PIN, D7_PIN);

void setup() {
  // Set up the LCD's number of columns and rows
  lcd.begin(16, 2);

  // Print a message to the LCD.
  lcd.print("hello, world!");
}

void loop() {
  // Set the cursor to column 0, line 1. This sets where the next
  // print() command will start writing.
  // (note: line 1 is the second row, since counting begins with 0)
  lcd.setCursor(0, 1);

  // Print the number of seconds since reset
  lcd.print(millis() / 1000);
}
I2C LCD
(Text and code adapted from Robert Zacharias, here.)
This tutorial uses the Arduino library called “LiquidCrystal I2C” by Frank de Brabender, based on work from DFRobot. As of this writing (November 2018) this library works nicely with the Phys Comp Lab’s I²C LCD screens. If you don’t have this library, in the Arduino IDE (development software), select Tools –> Manage Libraries… and search for LiquidCrystal I2C. Select this library and click Install.
Here’s a sketch that will display sample text and show you how to use various features of the library:
/*
    Example showing how to use the LiquidCrystal_I2C library.

    Demonstrates:
    - initializing an LCD device
    - setting the cursor
    - printing text
    - turning the text display on and off
    - turning the backlight on and off
    - printing right-justified text
    - printing a variable's value
    - scrolling text laterally
    - using special characters
    - using characters you define yourself
    - modifying only one part of the display

    Below is a diagrammatic map of each cursor position in a 16 x 2 (columns x rows) display.
    Each position is notated as a (column,row) coordinate.

        (0,0) (1,0) (2,0) ... (15,0)
        (0,1) (1,1) (2,1) ... (15,1)

    example code by Robert Zacharias at Carnegie Mellon University, rzach@cmu.edu
    released by the author to the public domain, November 2018
*/

#include <Wire.h>
#include <LiquidCrystal_I2C.h>

 /* Create an LCD display object called "screen" with I2C address 0x27
    which is 16 columns wide and 2 rows tall. You can use any name you'd like. */
LiquidCrystal_I2C screen(0x27, 16, 2);

int x = 123;

 /* Definition of a custom character called "frowny" which will be used later.
    Each digit is a pixel of the 5x7 array that forms a single character on this display.
    Draw your own at https://maxpromer.github.io/LCD-Character-Creator/ */
byte frowny[] = {
  B00000,
  B11011,
  B11011,
  B00000,
  B00000,
  B01110,
  B10001,
  B00000
}; // (note the extra row of zeros at the bottom)


void setup() {
  // initialize the screen (only need to do this once)
  screen.init();

  // turn on the backlight to start
  screen.backlight();

  // set cursor to home position, i.e. the upper left corner
  screen.home();
  // print the words Hello, world! onto the screen starting at the above cursor position
  screen.print("Hello, world!");

  // move cursor to column 0, row 1
  screen.setCursor(0, 1);
  // print text starting in that position
  screen.print("2nd row text");
  delay(2000); // do nothing for 2 seconds

  // noDisplay() and display() will switch off and on the text
  screen.noDisplay();
  delay(1000);
  screen.display();
  delay(1000);

  // noBacklight() and backlight() will switch off and on the backlight
  screen.noBacklight();
  delay(1000);
  screen.backlight();
  delay(1000);

  screen.clear();

  // autoscroll() will make the text right-justified, noAutoscroll() is regular flow
  screen.autoscroll();
  // therefore, set the cursor one square off of right side of the screen
  screen.setCursor(16, 0);
  screen.print("righttext");
  delay(1000);
  screen.noAutoscroll();

  screen.clear();

  // you can also display a variable on the screen
  screen.home();
  screen.print("x = ");
  screen.print(x);
  delay(1000);

  screen.clear();

  /* You can scroll the display right or left to show long text lines, etc.
     Use screen.scrollDisplayLeft() and ...Right() to move in one-column increments. */
  screen.home();
  screen.print("top long line of text, too much!");
  screen.setCursor(0, 1);
  screen.print("a second line that's also too long");
  for (int i = 0; i < 25; i++) {
    delay(500);
    screen.scrollDisplayLeft();
  }

  screen.clear();

  /* You can create custom characters.
     screen.createChar() below reads the array "frowny" (defined above)
     and loads it into memory location 0 on the LCD screen. */
  screen.createChar(0, frowny);

  /* Use screen.write(codenumber) to print pre-defined non-standard characters.
     See https://learn.robotgeek.com/getting-started/59-lcd-special-characters.html
     for a complete table of available symbols and their codes. */
  screen.home();
  screen.write(126); // right arrow symbol
  screen.print(" ");
  screen.write(243); // infinity symbol
  screen.print(" and beyond!");
  screen.write(233); // to the negative first power symbol

  screen.setCursor(0, 1);
  screen.write(232); // square root symbol
  screen.print("(-1) = ");
  screen.write(0); // "0" is the memory address of the custom character "frowny" from above

  delay(5000);

  screen.clear();
  screen.home();
  screen.print("x = ");
}

void loop() {
  // just count up to show x changing (the rest of the text will remain untouched)
  screen.setCursor(4, 0);
  screen.print(x);
  x++;
  delay(1000);
}